My Camera and Audio Setup
"Damn you look good!"
That was the first thing a fellow lacrosse goalie coach said to me when I turned on the video for our Zoom meeting.
I wish he was talking about my handsome good looks but alas he was not. In fact he was referring to my camera setup for the webinar we were about to participate in.
And it was true. Compared to the other goalie coach's camera setup I was Brad Pitt to his Danny Devito.
Every time I do a live training event seems like that inevitably someone ends up asking about my video or even my audio setup. So I wanted to write this blog post to explain exactly how I do it.
Camera Setup
First here's a screenshot of a few videos I've created with this setup so you get a feel of what I'm talking about.
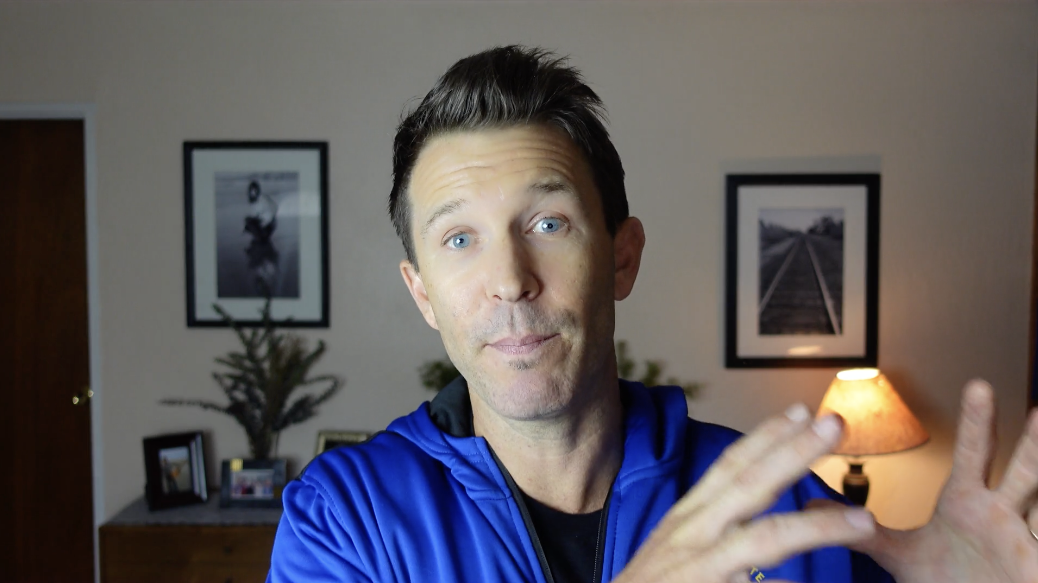
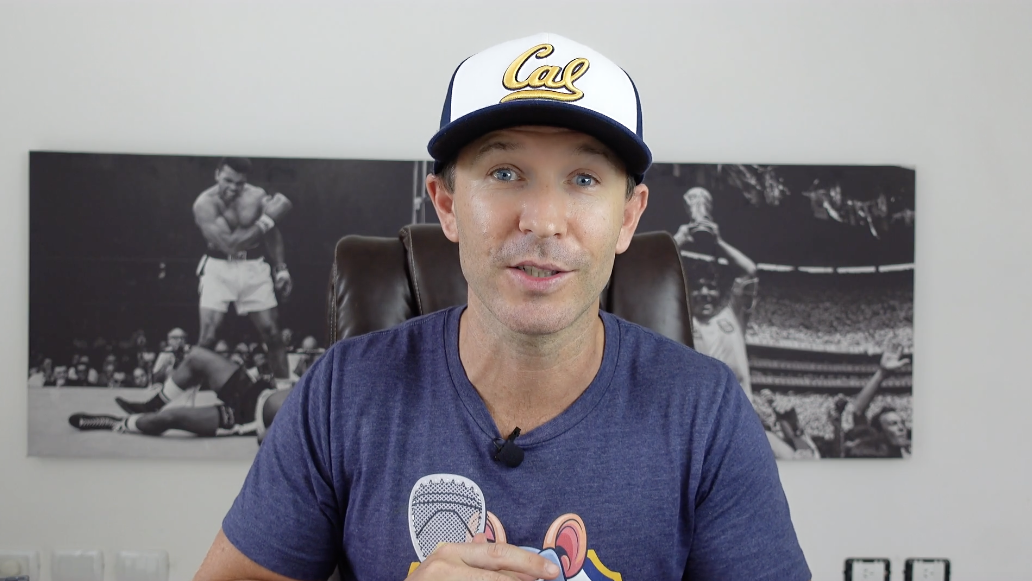
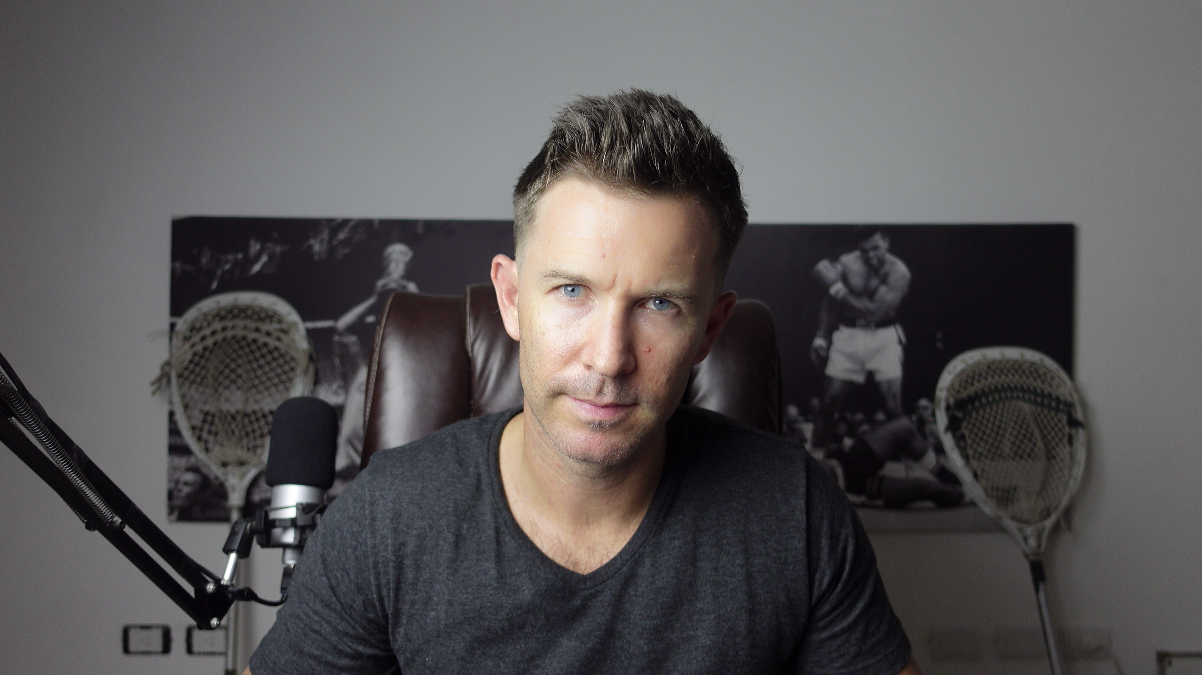
That last one is Blue Steel. I shouldn't even be talking about it yet.
Here is the camera and audio setup.
Camera: Sony ZV-1
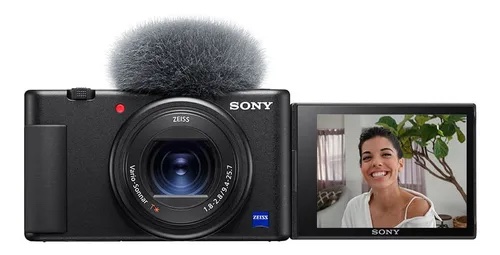
I love this camera. It's super small and compact. You don't need to worry about any external lenses.
And since it was designed for vloggers the video quality is amazing.
It's super easy to achieve the bokeh effect, which in layman term's means you're in focus and the background behind you is blurred.
There's a flip screen so you can see yourself and make sure you're centered in the video even if you're working alone.
It comes with a wind screen for the built in microphone and it has a mount and spot to plugin an external microphone which is what I prefer.
Setup is super simple. Because so many YouTubers use the Sony ZV-1 there are a lot of setup videos like this one:
I shoot at 24FPS at 4k. Unless I'm shooting sports in which I bump it up to 30FPS.
The only thing I don't like is the battery life is a pretty poor. When filming indoors at your office it doesn't matter because of the solution I'll show you down below.
But if you're filming outdoors (like at a lacrosse field for example) be sure to bring backup battery packs.
The camera is also a little pricey at $750 but well worth it in my opinion if you're wanting an easy and amazing video upgrade.
Tripod: Geekoto 77"
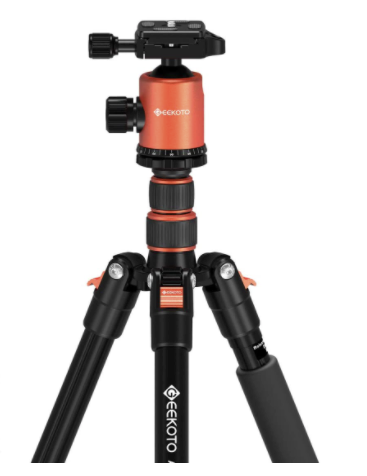
My Sony ZV-1 camera sits on top of this tripod - the Geekoto 77".
You don't want to put an expensive camera on a flimsy tripod and although this Geekoto is super light (3.3lbs) it is incredible sturdy.
I love that it has a ball joint up top so you can get the camera angled perfect every time - regardless of how the tripod legs are setup.
It was also has a smooth rotating 360 degree panorama to get nice cinematic sweeping shots.
You can attach the main tripod arm underneath too which may not be useful to you if you're just using this for webinars. But if you're out on the lacrosse field and want to get a field level low shot, it's perfect.
I haven't used this feature much but you can also pull out a leg and use it as a monopod if needed.
I love this tripod so much I nearly missed an international flight to save its life. Despite traveling TO Mexico with this in backpack when I attempted to return home they wouldn't let pass through security with this.
My options? Throw it away or go back to the checkin counter and check it. I did a quick time calculation and the odds were not in my favor. Despite that I wasn't gonna leave my Geekoto by the wayside.
Battery: DK-X1 DC Coupler Dummy Battery
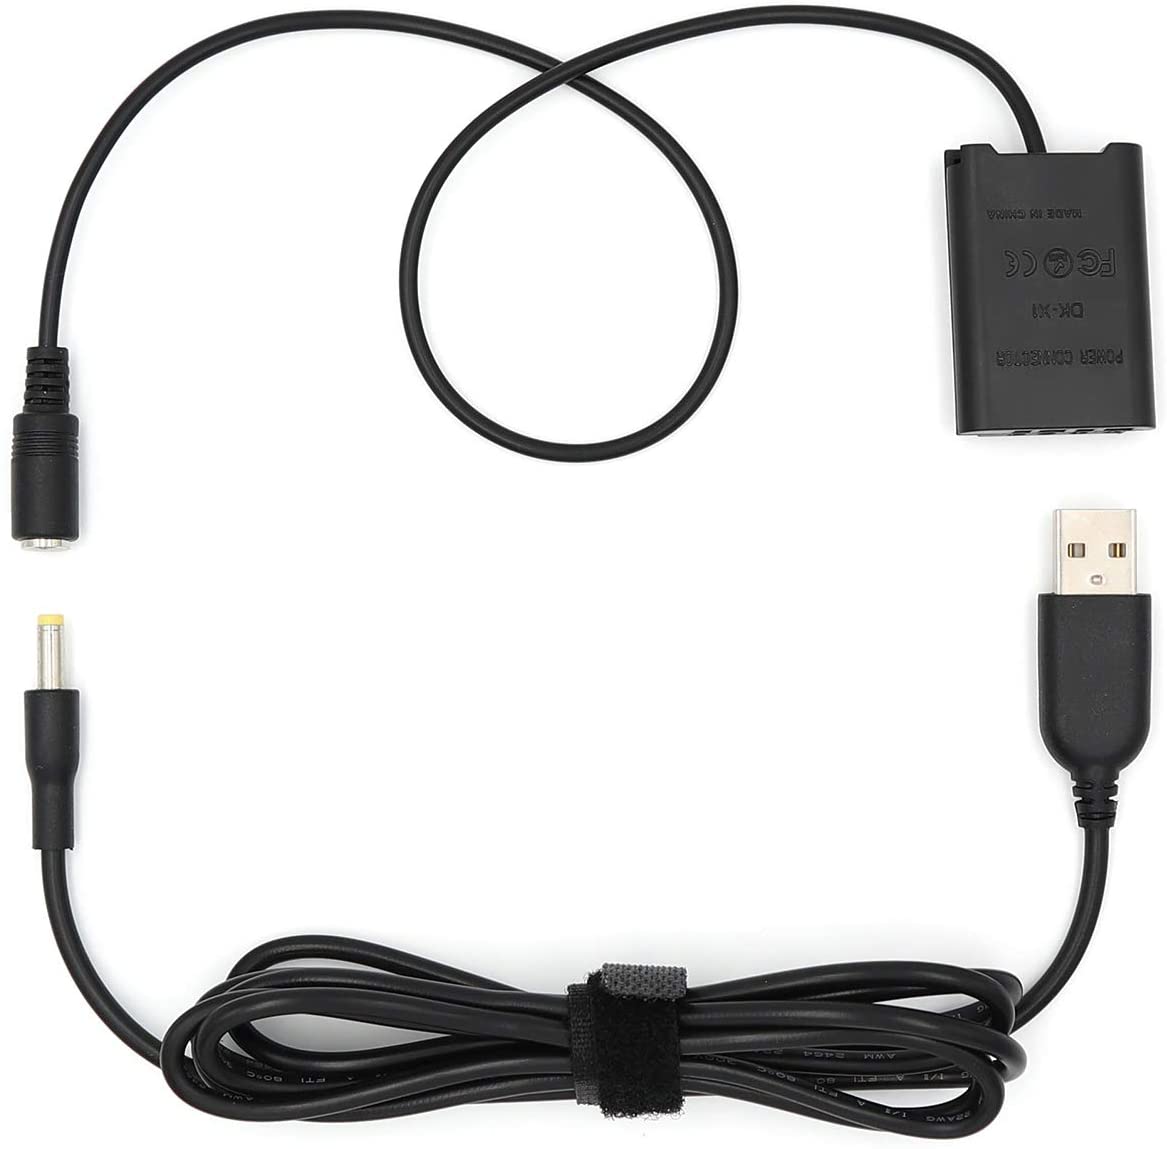
As I mentioned above the battery life of the Sony isn't the best and if you're going to be participating in an hour long webinar you'll likely run out of juice.
Luckily the solution is super simple. Use this dummy battery.
One end goes into the camera and other end plugs into a USB and boom - you're powered for an entire call or really as long as the USB is plugged in.
If you are recording videos outside or in a spot where you cannot plug in the camera with that dummy battery, be sure to stock up on extra batteries.
ZV-1 Camera Base Mount Bracket
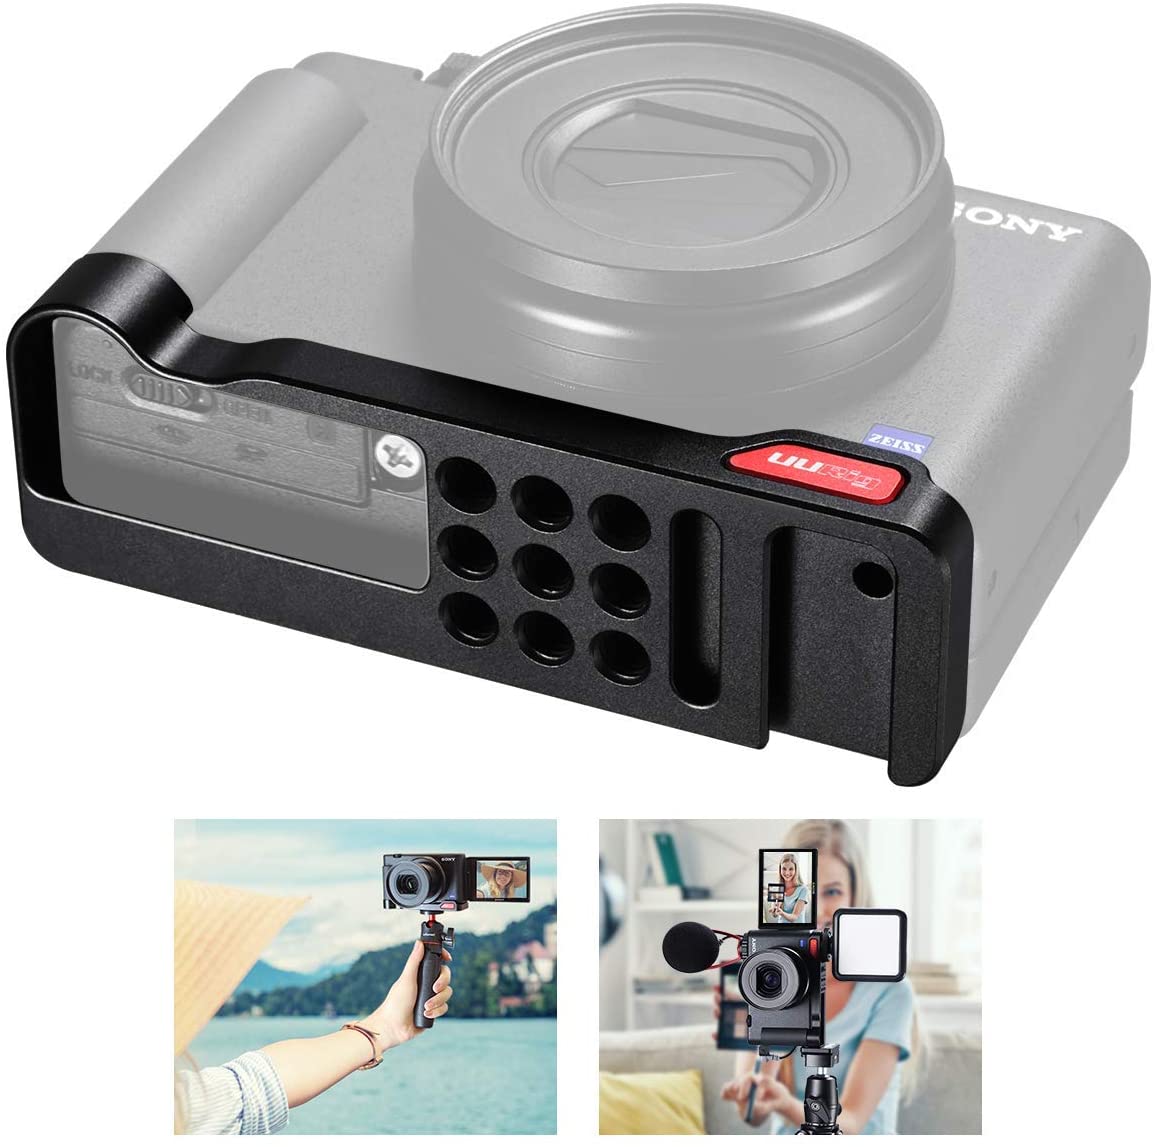
This metal base bracket attaches to the bottom and the Sony ZV-1 camera.
The main function of this thing for me is shooting vertical videos for TikTok or Instagram Reels since the camera doesn't have a side screw.
The other function is because there are so many bottom holes in this bracket you can attach the camera and still have access to the camera battery door without removing it from the tripod.
Depending on your needs this is a piece you could do without but I like it.
Elgato Cam Link 4k
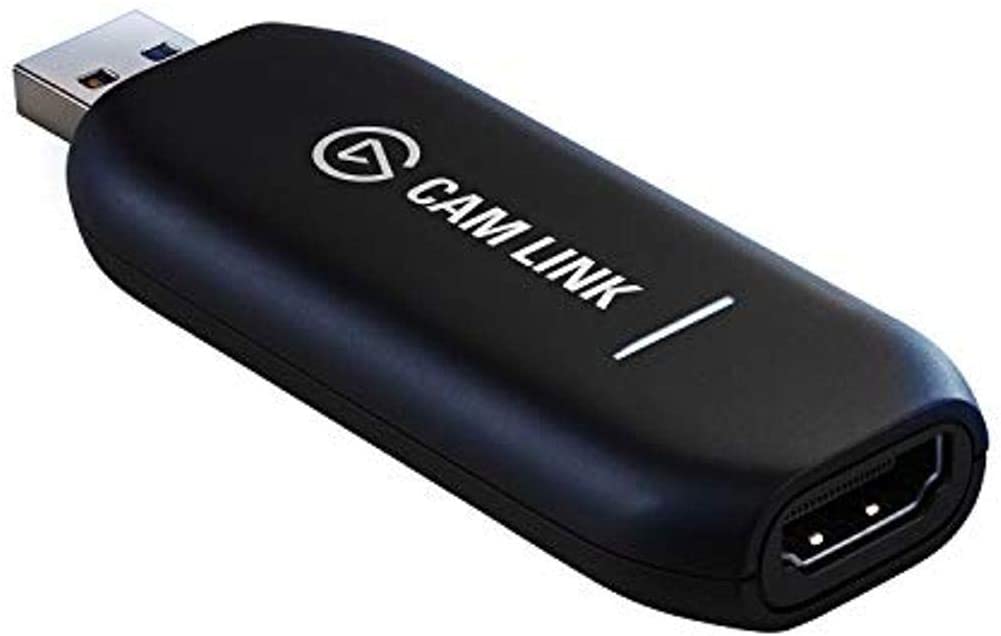
El gato is Spanish for the cat. What that has to this apparatus, I don't know.
But I do know this device is called the Cam Link and it will connect your Sony ZV-1 camera to the computer so that you can select it as a video option in your Zoom meetings.
The device delivers 4K quality video to your webinars.
You do need 1 extra cable that is not included with the Cam Link and that is an HDMI to HDMI Micro.
Lights: Studio FX Photography Softbox
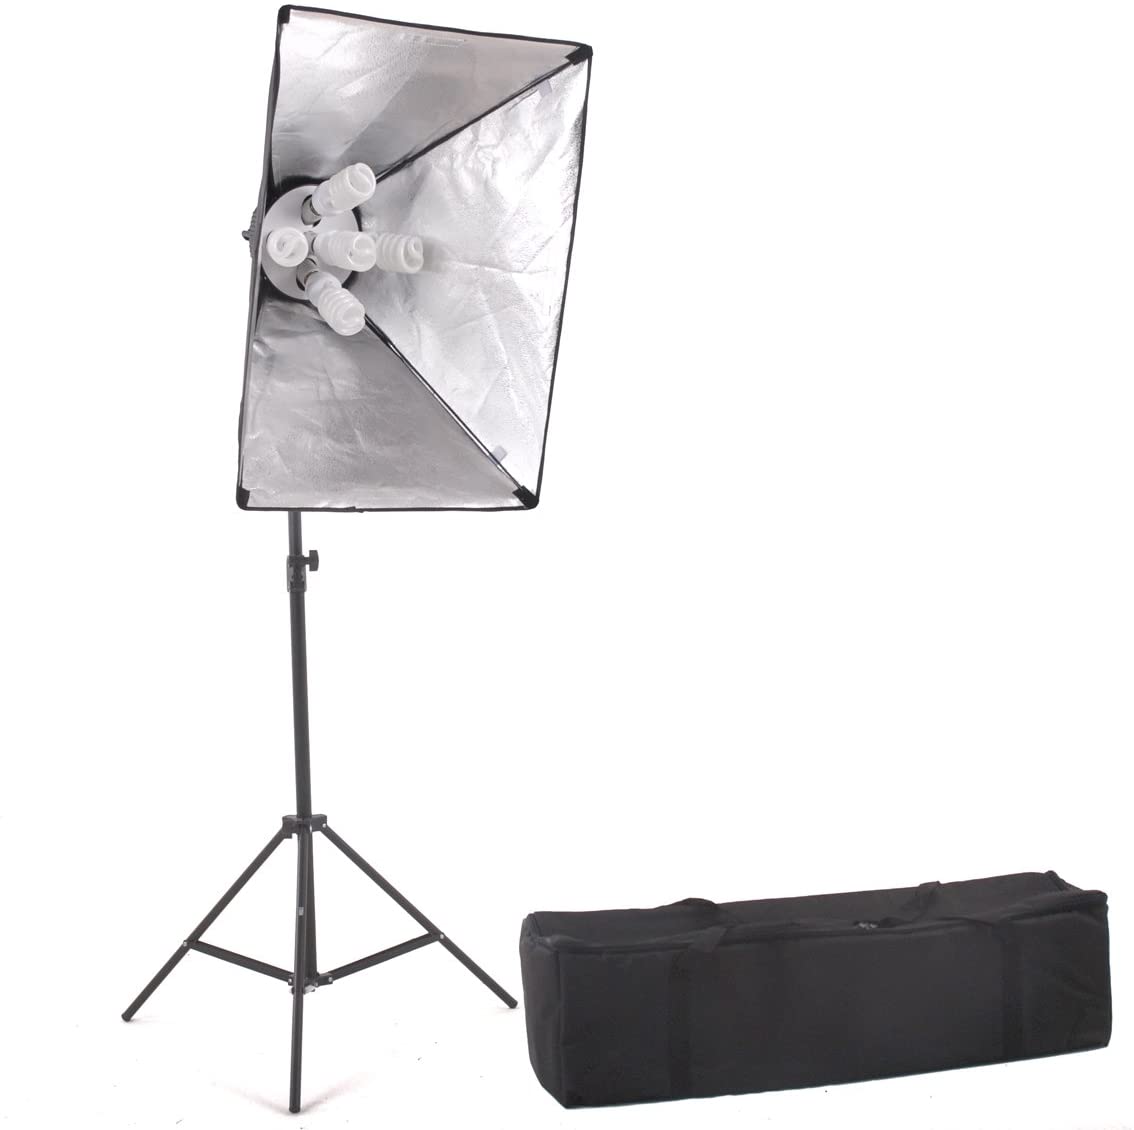 Next you'll need something to light up your face. Getting soft light is a key to creating a nice high quality appearance.
The soft light is also very nice for those who suffer from bad skin (like me) as it makes anyone look great.
In my setup there's a large window off to the right and then this light is positioned at an angle on my left.
Audio Setup
Now that you've got a nice video setup, the 2nd step is to ensure you have clean, high quality audio.
Microphone: Shure MV7 USB Microphone

For the type of videos I'm recording a USB mic provides sufficient quality. Other microphones may provide better audio but the hassle of buying a mixing board just doesn't interest me.
I use the Shure MV7 USB mic and its awesome. Simply plug it into your computer and it appears as a microphone option in your Zoom meeting.
I've also used the Blue Yeti USB microphone when I was back at home visiting family and used my brother-in-law's setup.
This is another microphone that I would recommend. Plug and play with great sound quality.
Wind Screen
The Shure comes with one but some don't so you'll also want to pick up a cheap wind screen.
On some mic's they pickup a weird noise when you say "p" sounds as too much air blows into the mic. These wind screens prevent that and give you a smooth sound even if you want to load that podcast full of "p" sounds.
Microphone Arm
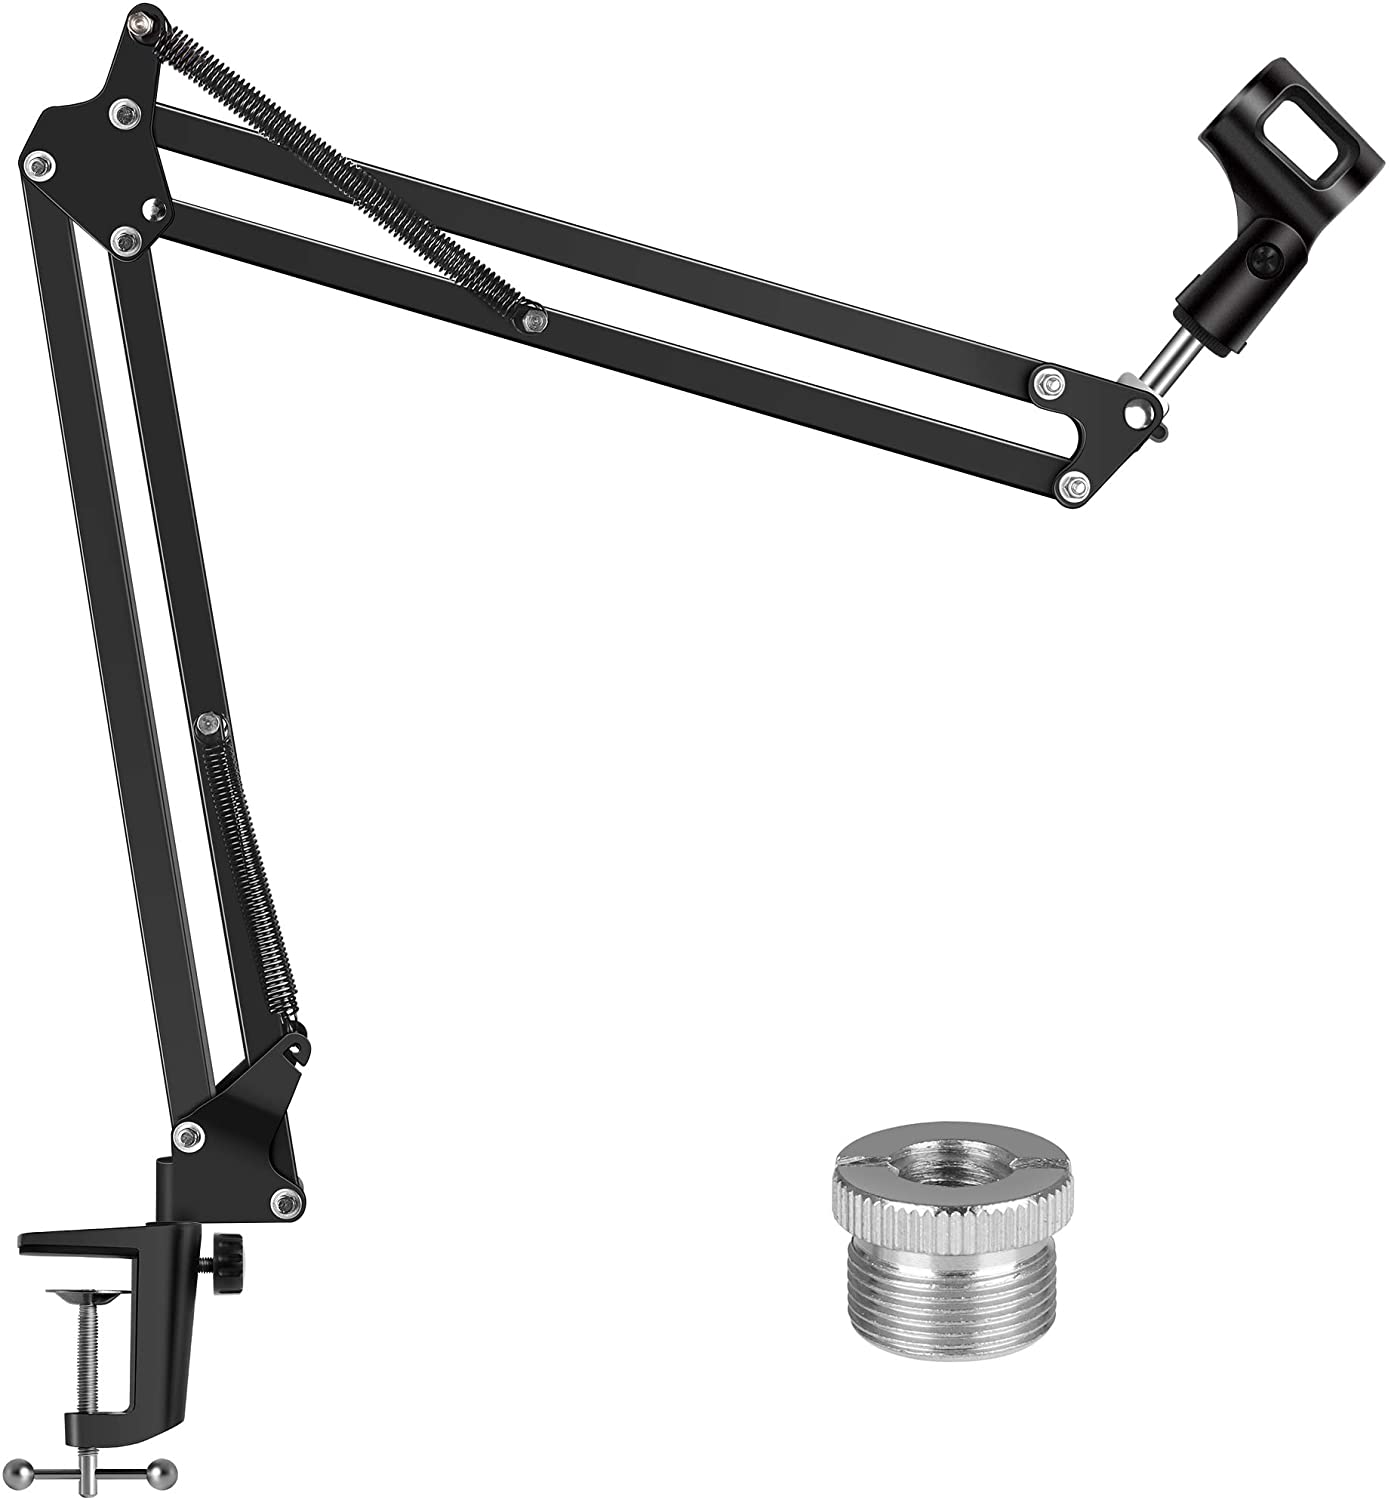
I attach my USB microphone to the desk via this mic arm. This allows me to always have the mic setup and yet for it to out of the way if I'm not using it.
It's very simple assembly. The clamp attaches to the desk and then you insert the microphone. I attached the cables of the microphone with black electrical tape for a clean look.
Wireless Mic: Movo WMX-1 Wireless Lavalier Mic
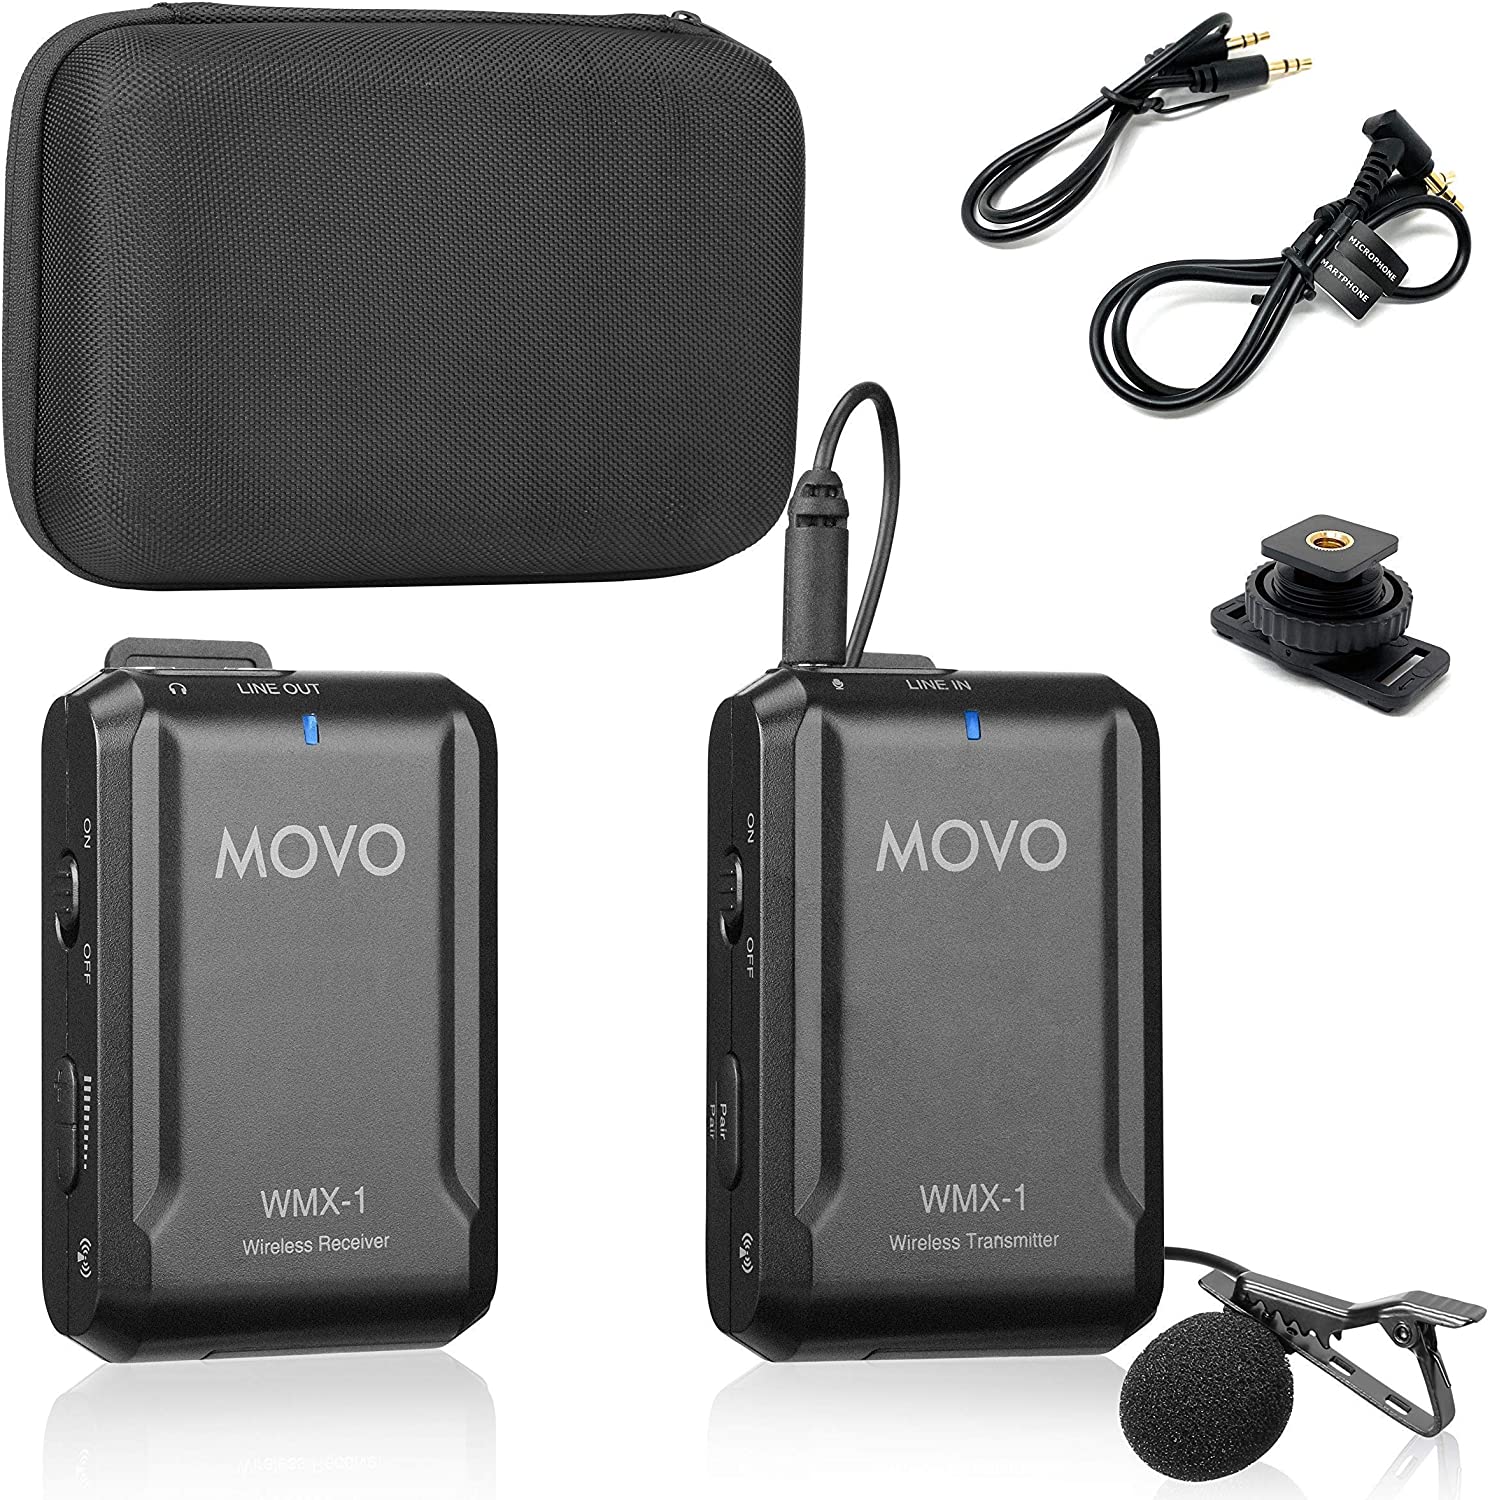
If you're shooting videos outside or want to move around the room this is an excellent option.
It's a wireless lavalier microphone so you connect the receiver to the camera and the transmitter goes into your pocket.
Gives you great quality audio with the limitation of being connected to the computer.
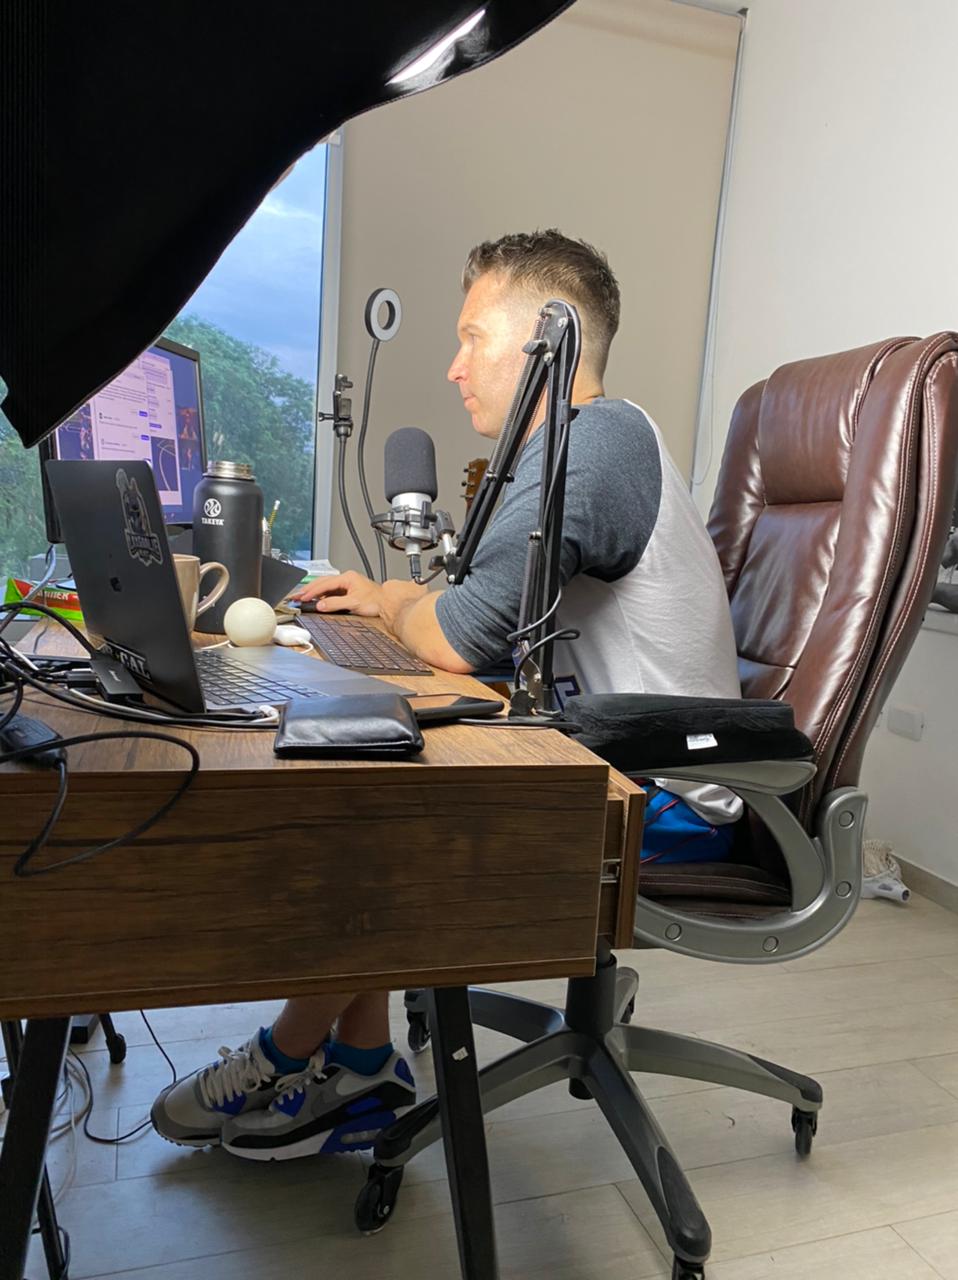
That does it. That is the magic recipe to get high quality video and audio in your videos as well as your webinars.
Here's a pic of me behind the scenes executing a Virtual Summit:
Equipment for Using a Script
For the most part, I don't use a script when recording my course content.
But there are days were I'm just not feeling it or I've goofed up enough times that I'm starting to waste time.
So here's the setup to read from a script without anyone on the other side noticing.
Padcaster Parrot Teleprompter
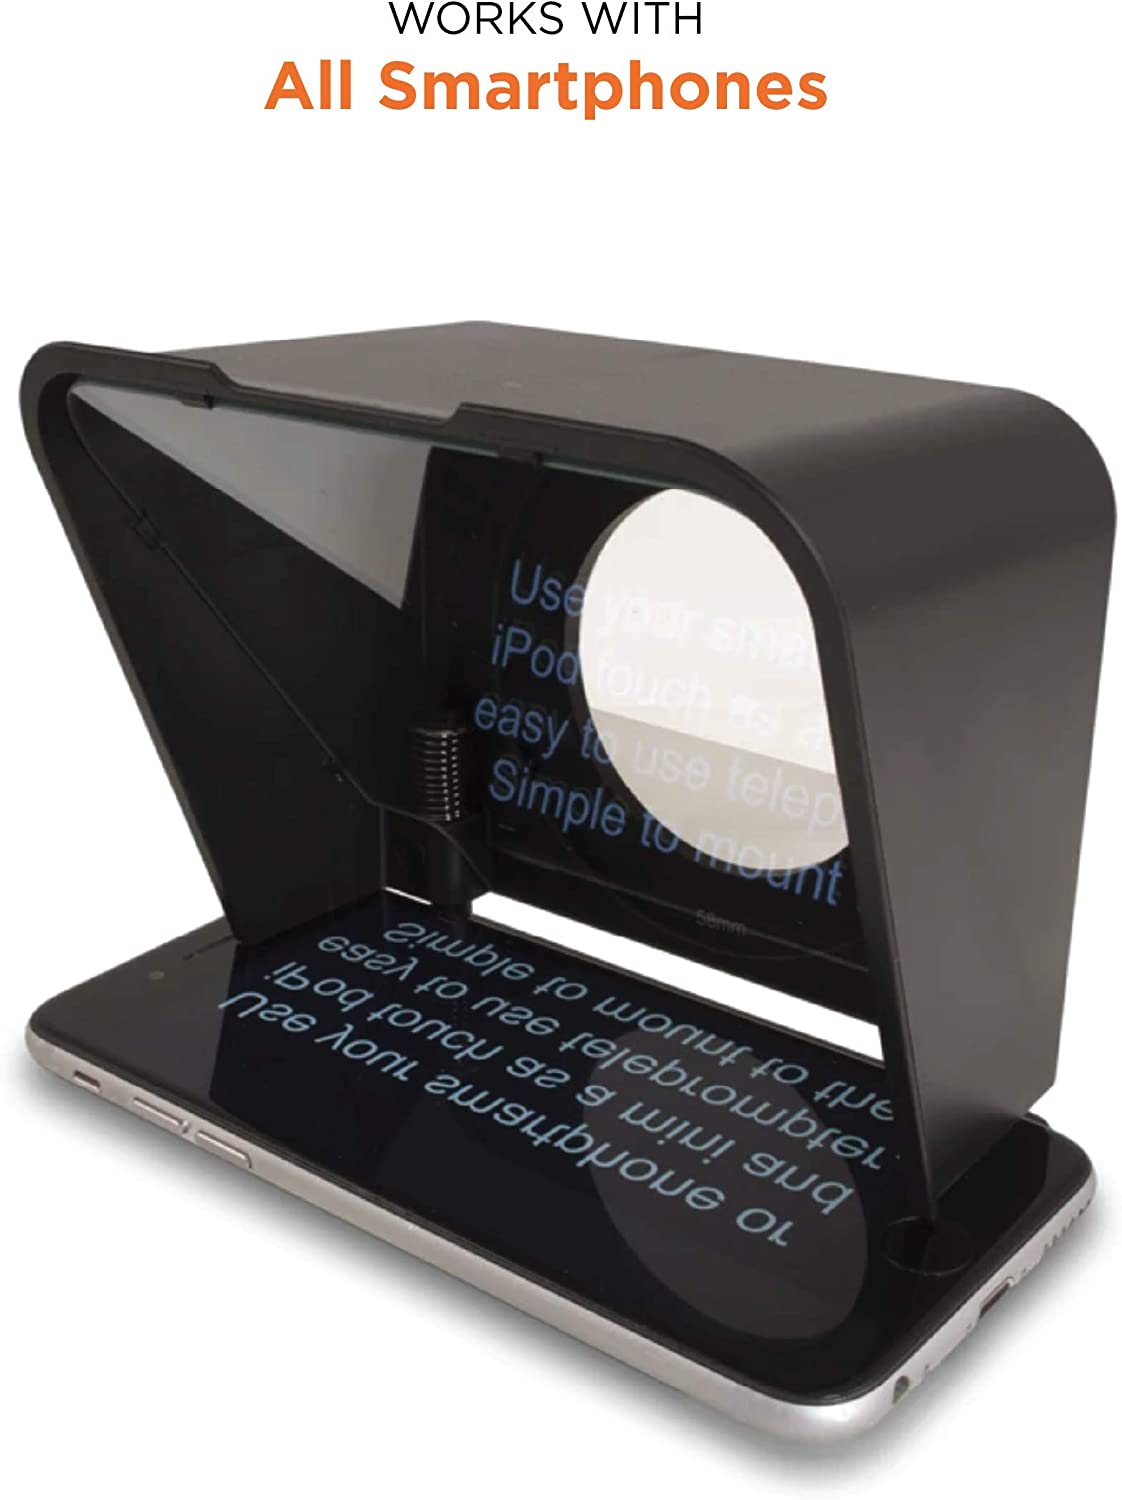
If you're trying to read from a script while recording most of the times your eyes will give it away as you look to the side to get the lines.
This device will allow you to look directly into the camera and yet still be reading a script you're written.
I'm pretty good at reading from the script in a way that doesn't sound rehearsed or robotic so I like this option.
Reading from a script also makes your videos more concise and to the point. Which provides additional value for your viewer.
CAME-TV Lens Adapter
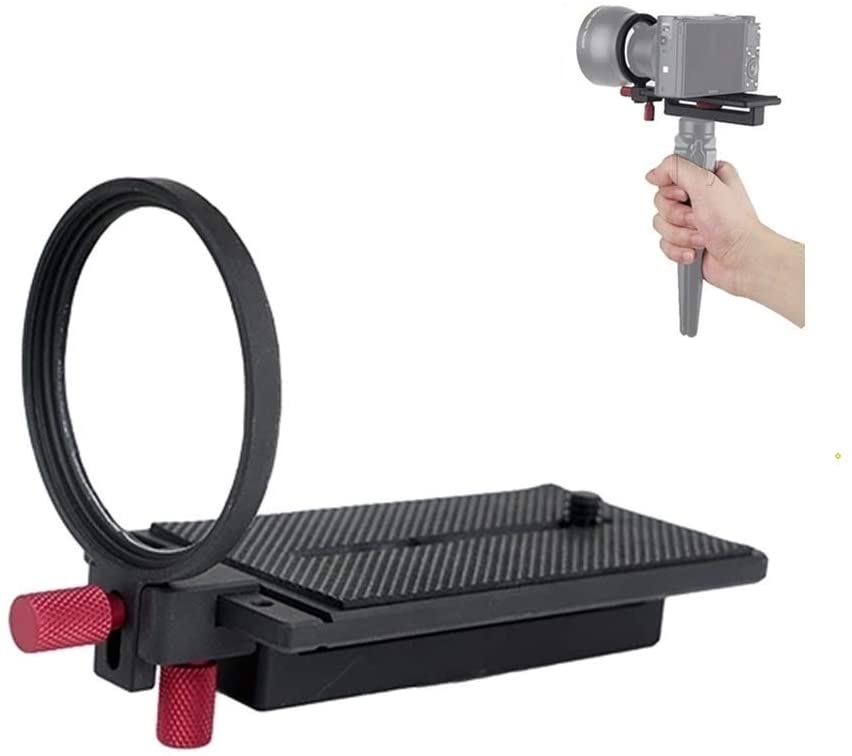 The Padcaster Parrot is meant to be put onto the lens of a DSLR camera.
The one problem is the Sony ZV-1 has a fixed, retractable lens so attaching the Padcaster would damage the lens.
The CAME-TV Lens Adapter is our solution.
This adapter attaches to your tripod and then you put the camera on top of it. You can then attach the Padcaster to the adapter and boom you're all set.
Enjoy! Any questions? Leave me a comment below.
- Damon
0 comments
Leave a comment